Home > USB Central > USB OTG and Embedded Hosts > BeagleBoard Code for Accessing USB Devices > Using Eclipse to Cross-compile Applications for Embedded Systems
Using Eclipse to Cross-compile Applications for Embedded Systems
Jan Axelson
Part 1: Install a Toolchain
Part 2: Install Eclipse and C/C++ Development Tools
Part 3: Create and Configure a Project
Part 4: Compile and Run an Application
Part 5: Set Up Remote Debugging
Click the images to enlarge.
Send comments, suggestions, etc. to jan (at) janaxelson.com.
Part 4: Compile and Run a Program
You're now ready to create and compile a source file for your project and run the program on the target system.
Debugging tip: on multiple occasions, I was able to fix problems or remove an Eclipse error message by clicking Project -> Clean or sometimes by exiting Eclipse and running eclipse -clean.
Create and Compile a Source File
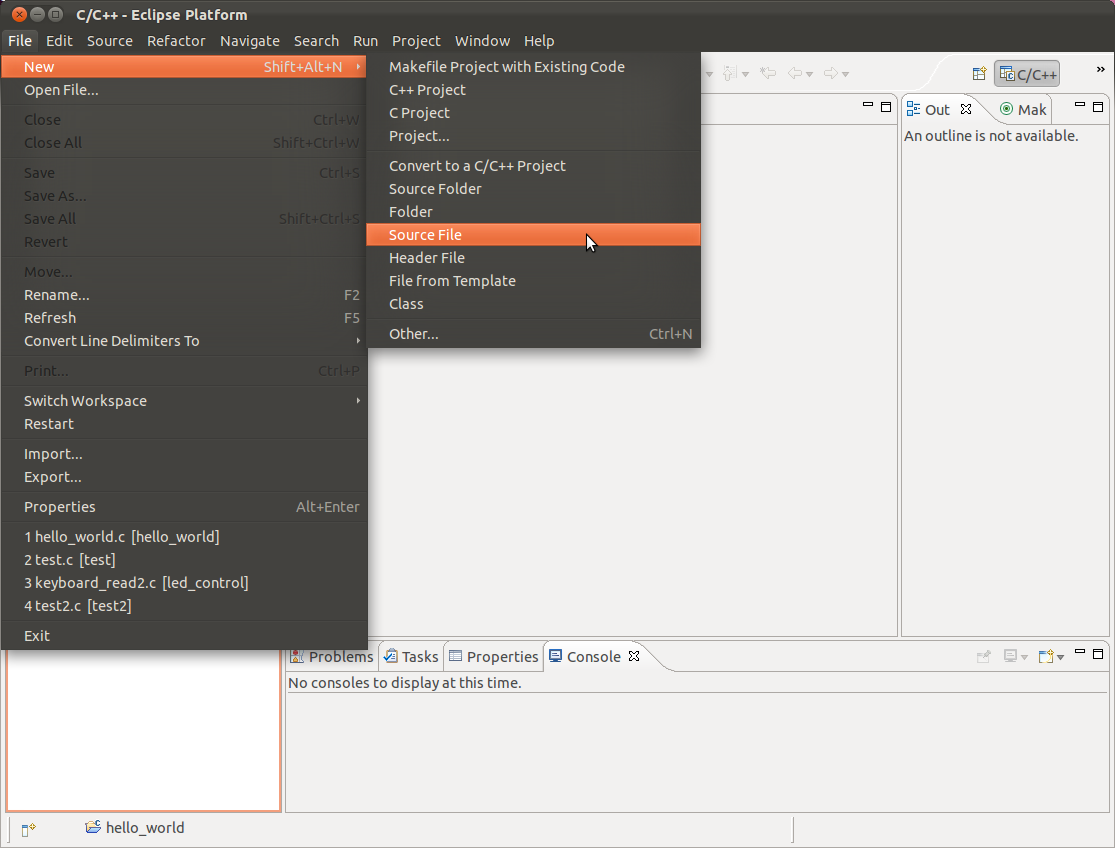
Select File -> New -> Source File.
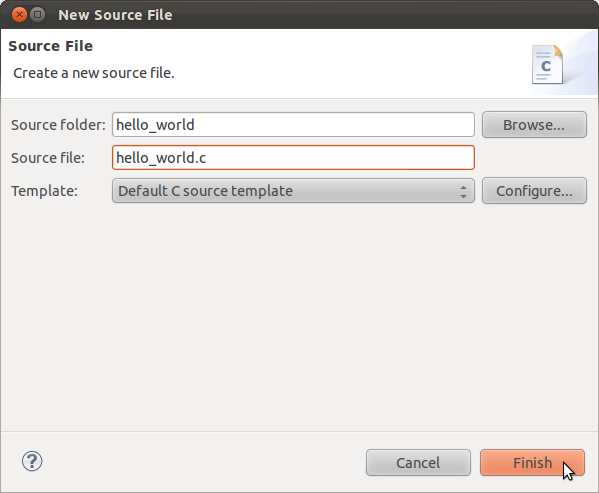
In the Source file window, type hello_world.c and click Finish.
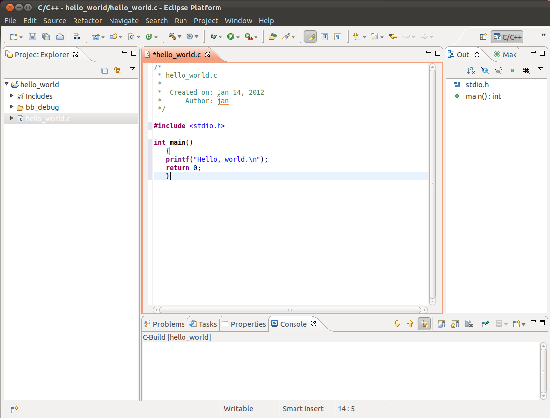
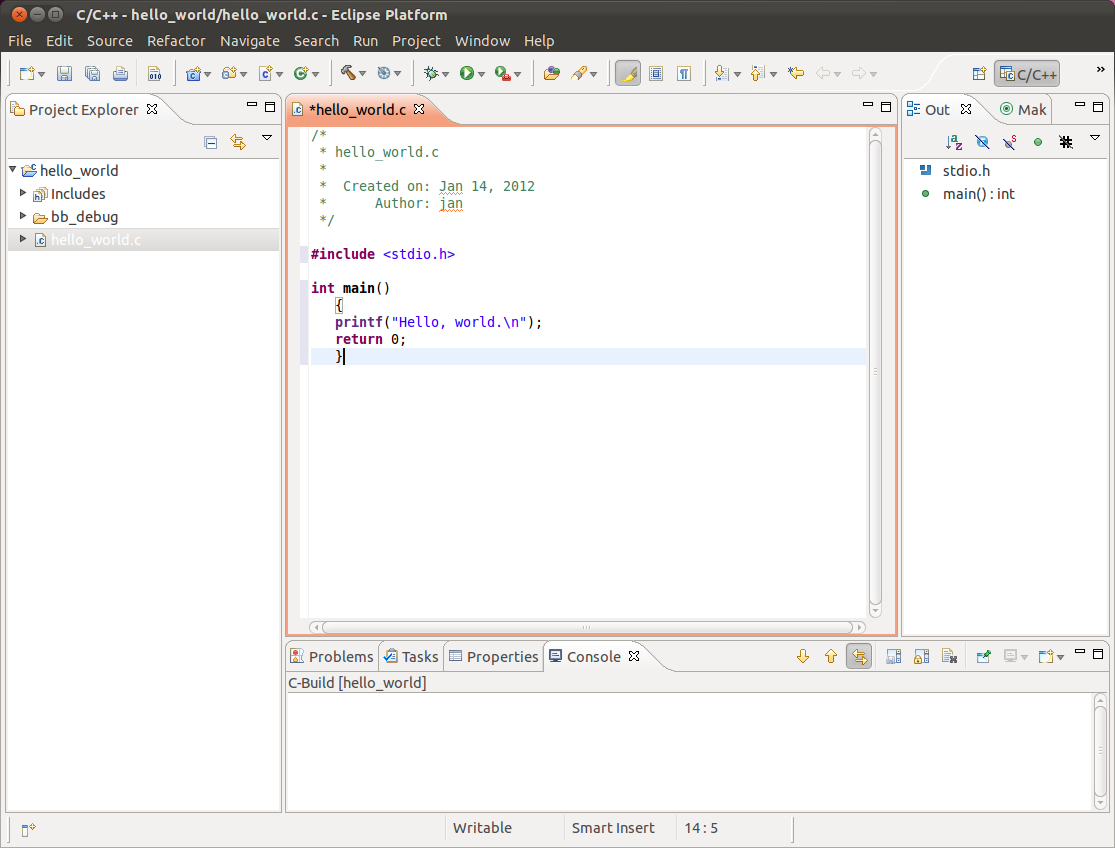
Add this source code to hello_world.c:
#include <stdio.h>
int main()
   {
   printf("Hello, world.\n");
   return 0;
   }
Press Ctrl+S or select File -> Save.
The file is saved to the project's home directory:
/home/user_name/workspace/hello_world
Select Project -> Build Project.

A successful build creates the file hello_world in the configuration subdirectory of the project's directory:
/home/username/workspace/
This is also the location of the project's makefile.
Any build errors will show up in the Problems tab.
On success, you're ready to transfer the file to the BeagleBoard-xM and test.
Transfer the File to the BeagleBoard-xM
You can transfer the file to the BeagleBoard-xM using Eclipse's remote debugging facility as described in Part 5 of this tutorial or you can use the command line or a flash drive as described below.
Setting a Static IP address on the BeagleBoard-xM
To view the BeagleBoard-xM's IP address, in a terminal application, enter:
ifconfig
Look in the eth0 or usb0 section of the response. The numbers following inet addr: are the IP address:
inet addr:192.168.1.79
A system can request an IP address from a DHCP server on the network or declare a static, or fixed, IP address. On the BeagleBoard-xM, a static IP address overcomes a driver limitation that otherwise causes the DHCP server to assign a different IP address to the USB/Ethernet port on each bootup.
You can set a static IP address by editing the /etc/network/interfaces file. In a terminal application on the BeagleBoard-xM, enter:
gedit /etc/network/interfaces
The USB/Ethernet port is usb0. Here is an example entry for a port with a static IP address:
auto usb0
iface usb0 inet static
address 192.168.1.79
netmask 255.255.255.0
network 192.168.1.0
gateway 192.168.1.254
For the address value, view the BeagleBoard-xM's IP address as described above and use that value or whatever other IP address you want to use.
To find what values to use for the other entries, from a terminal application, enter
netstat -nr
The output should look something like this:

For the network value, use the Destination value in the row with Flags = U (192.168.1.0).
For the netmask value, use the Genmask value in the row with Flags=U (255.255.255.0).
For the gateway value, use the Gateway value in the row with Flags = UG (192.168.1.254)
Transfer the File Using the Command Line
On the BeagleBoard
Install ssh if not already installed:
sudo apt-get install ssh
(For Ångström systems, use opkg install ssh)
On the Development PC
In a Terminal application, change to the directory with the executable hello_world file, for example:
cd /home/jan/workspace/hello_world/bb_debug
Use the scp command to transfer the file over the local network to the BeagleBoard:
scp hello_world jan@192.168.1.79:/home/jan/workspace/
hello_world is the file to transfer.
jan is the username on the BeagleBoard.
192.168.1.79 is the BeagleBoard's IP address.
/home/jan/workspace/hello_world/ is the directory to store the transferred file on the BeagleBoard.
Transfer the File via a Flash Drive
To transfer the file via a flash drive:
Attach a flash drive to the development system (PC).
To find the drive's mount point, enter mount in a terminal application.
You should see an entry similar to this:
/dev/sdb1 on /media/Lexar type vfat (rw,nosuid,
/dev/sdb1 is the device node for the drive's volume. /media/Lexar is the mount point. The device node and mount point for your drive may vary.
If you're not sure which device node belongs to the drive, enter dmesg in the terminal application to view the messages generated after attaching the drive.
Copy the file to the drive:
cd /home/user_name/workspace/
cp hello_world /media/Lexar/
Unmount the drive:
umount /media/Lexar
Remove the drive and attach it to the BeagleBoard-xM.
On the BeagleBoard-xM, run a terminal application.
If necessary, create the directory where you want to store the file:
mkdir /home/jan/my_programs
Change to the directory where you will store the file.
cd /home/jan/my_programs
Copy the file from the flash drive to the BeagleBoard.
cp /media/Lexar/hello_world hello_world
Change permissions to make the file executable:
sudo chmod 777 hello_world
Run the Application
From the directory containing the transferred file, enter:
./hello_world
The terminal should display:
Hello, world.
You have successfully cross-compiled an application using Eclipse.
Go to Part 5: Set Up Remote Debugging.